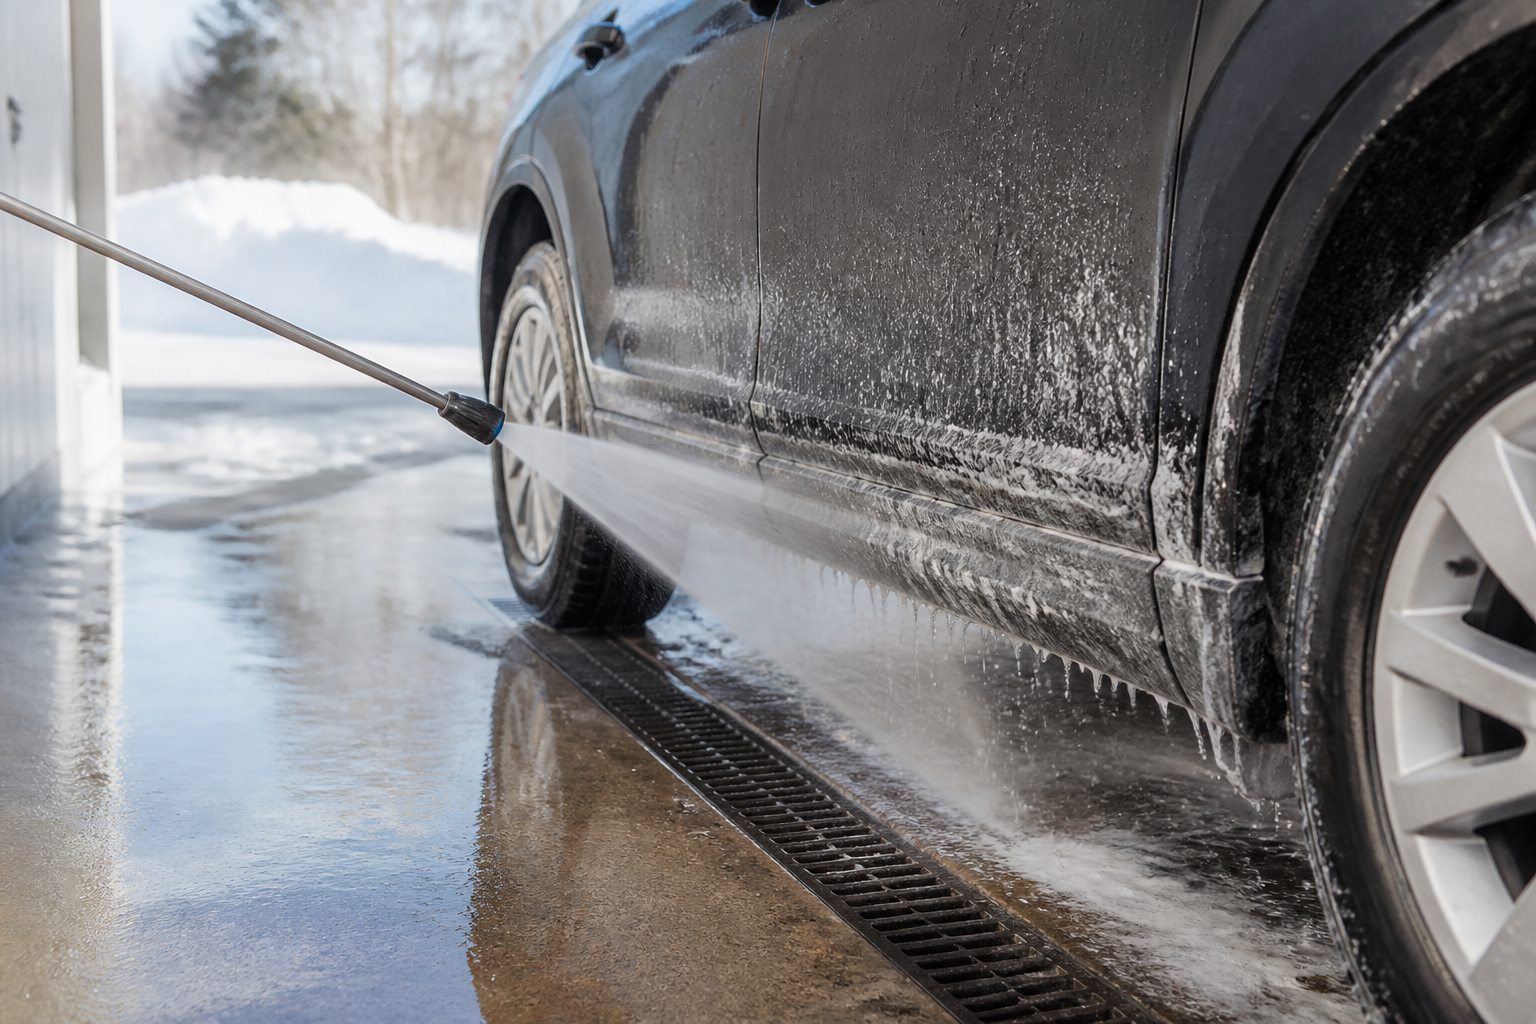
For routine passenger-car care, do not try to chemically neutralize road salt. Remove it: rinse loose salt and grit with plenty of clean water, wash with a vehicle-safe product, rinse again, and reach the wheel wells and underbody. Use a commercial wash when temperatures, drainage rules, or access make that sequence unsafe at home.
First decide whether today is a safe wash day
Salt removal starts with water, but water creates its own winter hazards. Check the current temperature, the next several hours, the wash-bay surface, and where runoff will go. Do not create ice across a sidewalk, driveway, road, or garage entrance. A commercial wash with an underbody cycle is the practical choice when home washing is prohibited, drainage cannot be controlled, or temperatures will refreeze the water.
If you can wash safely, work before the deposit becomes a hard, dirty crust. Treat every visible white film as a mixture of salt and road grit, not as a cosmetic stain. The first contact should be a rinse—not a towel, brush, or dry hand—because rubbing trapped grit can mark paint.
- Safe drainage route with no storm-drain discharge
- Air and surface temperatures that will not create a freeze hazard
- Enough reach to rinse wheel wells and lower seams without crawling under the car
- Vehicle manual checked for wash restrictions and sensitive areas
Do you need to neutralize road salt?
Usually, no. For a normal passenger vehicle, the dependable first-line process is dilution and removal: rinse thoroughly, use a compatible automotive wash solution, then rinse the residue away. Adding an acid, alkali, or a home-mixed 'neutralizer' introduces a second chemical compatibility problem without proving that salt has left seams, drain holes, and underbody pockets.
A Connecticut Department of Transportation study on winter-maintenance equipment reached an important caution: if a salt neutralizer is used, it should have demonstrated effectiveness, because some products tested at their recommended concentration increased corrosion on some metals. That does not mean every specialty product is harmful; it means the word 'neutralizer' is not evidence. Use only a product that identifies the vehicle surfaces it supports, follow its exact dilution and dwell directions, never mix cleaners, and rinse completely.
Match the process to the salt load
Use the least complicated process that can carry the contamination off the vehicle. The table is a decision path, not a product ranking. When in doubt, repeat a controlled rinse before increasing chemical strength or pressure.
If columns extend beyond the screen, scroll sideways. Keyboard: focus the table and use the left/right arrow keys.
| What you see | Start with | Escalate when |
|---|---|---|
| Light white film after one treated-road trip | Thorough clean-water rinse, then normal vehicle-safe wash | Film remains after a full rinse and contact wash |
| Caked slush and grit on lower panels | Long pre-rinse with no scrubbing; wash media only after loose grit is gone | You cannot safely flush seams and wheel wells |
| Heavy residue under the vehicle | Commercial underbody wash or a vehicle-approved low, controlled rinse | Access requires crawling under an unsupported vehicle or directing water at restricted components |
| Persistent film after correct washing | Compatible labeled salt-removal product, test spot, exact dilution, full rinse | The label does not identify safe surfaces or the residue may be something other than road salt |
| Flaking corrosion, wet brake-line area, warning light, or changed pedal feel | Stop treating it as a detailing problem | Arrange qualified inspection before normal driving if braking may be affected |
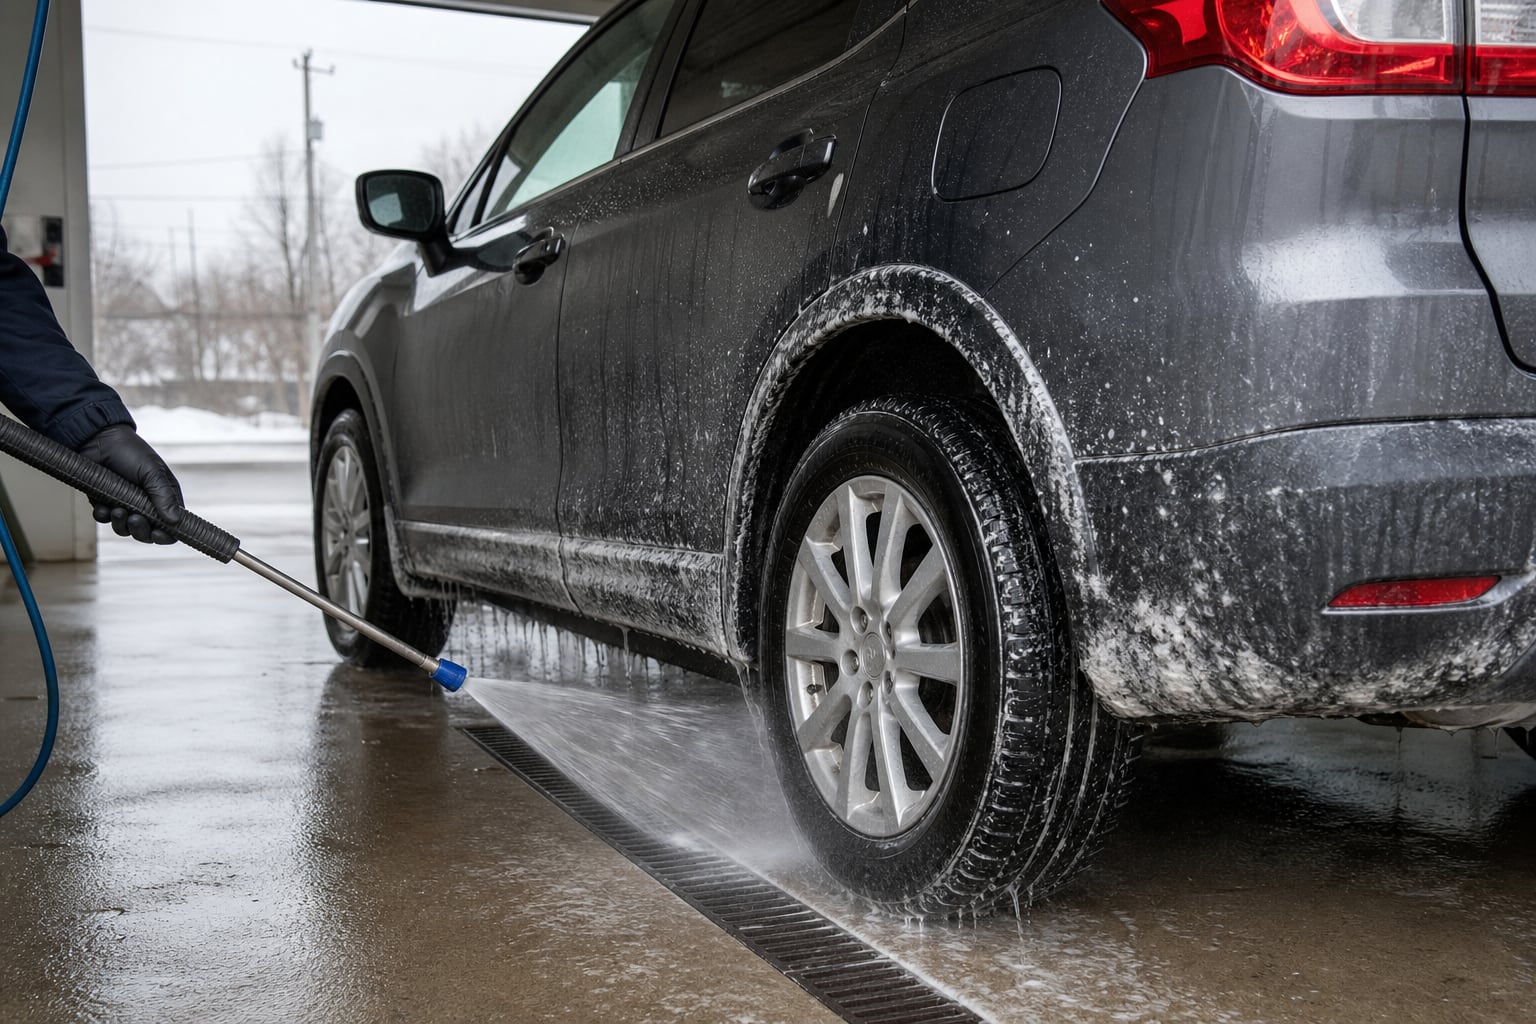
Use a rinse-wash-rinse sequence
Start at the roof and glass, then spend most of the pre-rinse time on the rear of the vehicle, lower doors, rocker panels, wheel faces, wheel wells, and accessible underbody areas. Keep the nozzle at the distance and angle specified by the washer and vehicle manufacturers. More pressure is not automatically better: coverage and water flow do the transport work, while excessive pressure can force water into places the vehicle maker tells you to avoid.
After loose contamination is gone, wash top to bottom with a lubricated automotive wash and separate tools for paint and wheels. Rinse the wash media often or expose a clean towel face for each small section. Finish with another complete rinse, including panel gaps and lower seams. Do not let a salt-remover or detergent dry on the surface.
Rinse the underbody without working underneath it
Road spray collects around wheel openings, splash shields, subframes, seams, lower door edges, and drain openings. Manufacturer guidance for salt-region vehicles commonly calls for regular flushing of the underbody and wheel openings with cold or lukewarm water and for keeping body drain holes clear. Follow the instructions for your model; EVs, plug-in hybrids, damaged splash shields, exposed connectors, and aftermarket coatings can change what is appropriate.
Use a purpose-built undercarriage tool only from a stable standing position and only where the vehicle and tool instructions allow it. Never crawl under a vehicle supported only by its own emergency jack. If residue is hidden, access is poor, or the manual restricts high-pressure washing, choose a commercial or professional underbody service instead.
Dry, inspect, and re-rinse the pockets you missed
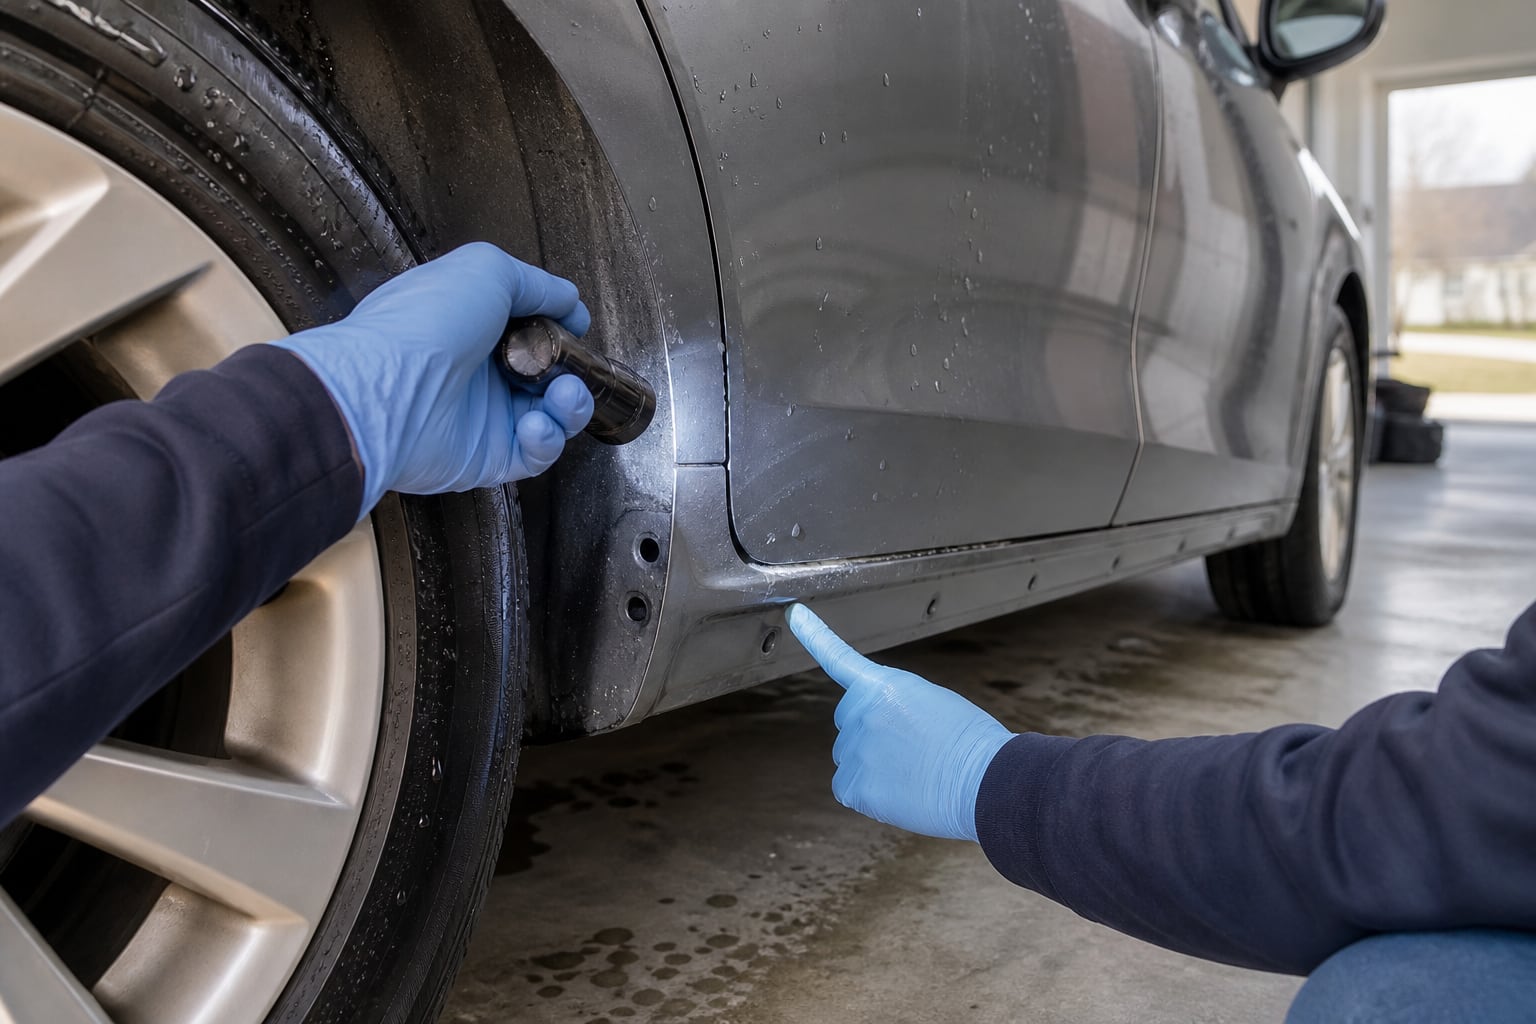
Dry door jambs, fuel doors, hatch edges, mirrors, handles, and weather seals so trapped water does not freeze them shut. Open and close accessible panels after drying. Check the lower-door drains and rocker seams with a flashlight; a remaining white line or gritty pocket needs another gentle rinse, not a dry wipe.
Washing slows the exposure but does not repair corrosion, chipped coatings, blocked drains, or leaking brake components. Look for fresh rust scale, coating damage, damp areas around lines, or fluid on the ground. A brake warning, a falling fluid level, or a pedal that feels different is a service issue rather than a cleaning task.
Set an exposure-based winter routine
There is no single wash interval that fits every U.S. winter. Use treated-road exposure, visible accumulation, temperature, and access as the triggers. After a storm or a heavily treated highway trip, remove the heavy deposit at the next safe opportunity. In a salt-belt winter, a repeatable commercial underbody wash can be more useful than waiting weeks for a perfect driveway detail.
At the end of winter, wash the underbody and wheel openings thoroughly and inspect the lower body after it dries. Record any coating damage or corrosion that needs professional attention. The maintenance goal is simple: remove deposits before they remain trapped for long periods, without creating a freezing, runoff, chemical, or pressure-washing hazard in the process.
SOURCES & FURTHER READING
COMMON QUESTIONS
Frequently asked questions
Do you need to neutralize road salt on a car?+
Usually not. Thorough rinsing, a compatible automotive wash, and a final rinse are the foundation. If you use a labeled specialty neutralizer, verify surface compatibility and follow its dilution and rinsing directions; some products have increased corrosion on certain metals in published testing.
How soon should road salt be washed off?+
Remove heavy deposits at the next safe opportunity after treated-road exposure. Temperature, drainage, and safe underbody access matter more than a rigid calendar.
Can I wipe salt off with a wet towel?+
Avoid wiping visible gritty salt before a thorough rinse. Contact can drag abrasive debris across the paint.
Is an automatic car wash okay in winter?+
A reputable wash with underbody cleaning can be a practical option, especially when home washing would create ice or violate runoff rules. Choose touchless if brush contact is a concern.
Can I use vinegar or baking soda to neutralize road salt?+
Do not use an unlabeled household mixture on the vehicle. It has not demonstrated compatibility with every paint, coating, seal, connector, and metal it may contact. Use clean-water removal first and only a vehicle-surface product whose label covers the job.

We check guidance against source material, equipment instructions, and our published editorial standards. Read the policy →