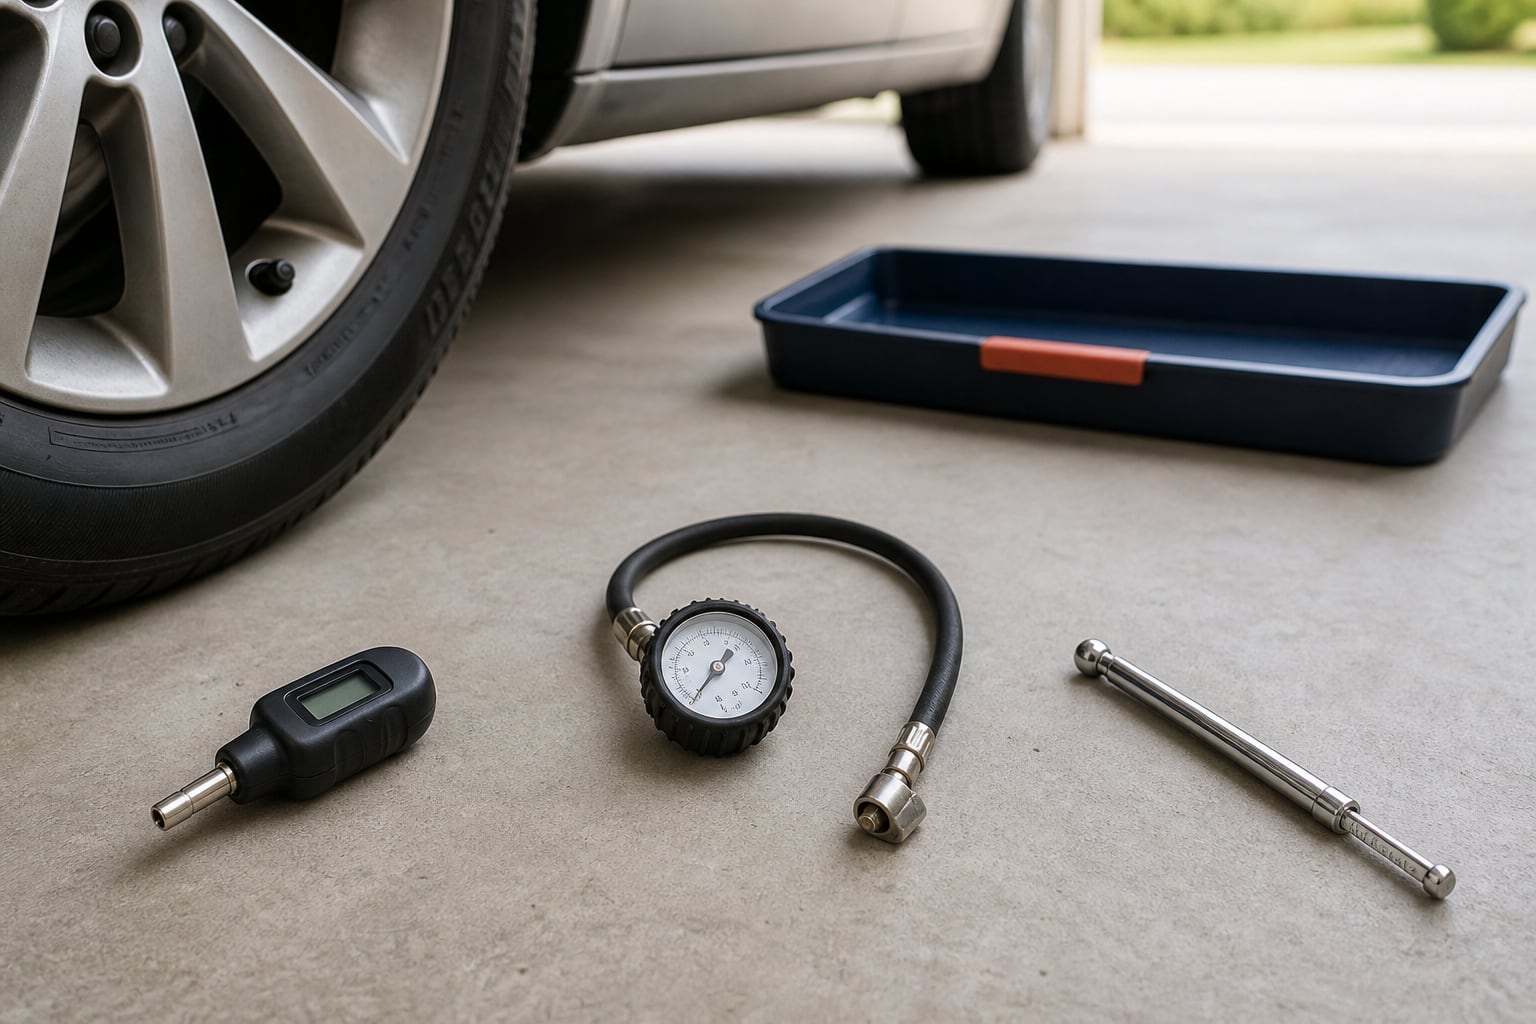
For most passenger-car owners, a clearly specified digital, dial, or pencil gauge can work. Choose a range that covers the vehicle placard and spare, readable 1 psi increments or finer, a manufacturer-stated accuracy tolerance, and a chuck that seals on every valve stem you need to reach. Digital gauges are easiest to read in poor light, dial gauges can add a hose and bleed valve, and pencil gauges are compact and battery-free. The format does not guarantee accuracy—specifications, fit, condition, and consistent cold-tire technique matter more.
Choose the format around one repeatable job
A tire gauge has one job: produce a readable pressure measurement without losing enough air or changing technique enough to mislead you. The most useful format is therefore the one you can seat squarely on every valve, read in the conditions where the vehicle is parked, and store without damage.
Digital, dial, and pencil gauges use different displays and mechanisms, but none is automatically the most accurate. A digital screen may show tenths of a psi without proving the sensor is accurate to a tenth. A large dial may be easy to read but still have the wrong range. A pencil gauge may be durable and compact but difficult to read in dim light or on a recessed stem. Start with the use case, then verify the specifications of the exact gauge.
If columns extend beyond the screen, scroll sideways. Keyboard: focus the table and use the left/right arrow keys.
| Gauge type | Best fit | Useful strength | Tradeoff to check |
|---|---|---|---|
| Digital | Routine passenger-car checks, low light, users who want a direct numeric display | Fast reading; often backlit; may switch between psi and kPa | Battery, storage-temperature limits, auto-zero behavior, and a display that can imply more precision than the stated accuracy |
| Dial | Users who value a large face, hose reach, or controlled bleed-down | Readable scale; hose and angled chuck can reach awkward stems | Drop damage, pointer zero, hose leaks, range selection, and model-specific venting instructions |
| Pencil | Glovebox backup and simple monthly checks with accessible stems | Compact, inexpensive, and battery-free | Small scale, limited low-light readability, contamination or bending of the sliding stick, and range mismatch |
Match the range to the placard and the spare
Write down the recommended cold pressures from the Tire and Loading Information label in the driver-side door area or the owner’s manual before comparing gauges. Front and rear values may differ. Check the spare separately: a temporary spare can require a much higher pressure than the four road tires, and not every vehicle monitors the spare with TPMS.
USTMA says a gauge calibrated in 1 psi increments up to 60 psi is sufficient for most passenger tires. Treat that as a starting point, not a universal shopping rule. The gauge must cover every pressure you will actually measure without using the very end of an unclear scale. High-pressure light-truck, trailer, RV, motorcycle, bicycle, and dual-wheel work may require a different range and chuck geometry.
A wider range is not automatically better. When two gauges have equally credible accuracy specifications, the scale concentrated around your normal pressure can be easier to read than one designed for pressures far above the vehicle’s needs. Compare the stated increment or display resolution at the part of the range you will use.
If columns extend beyond the screen, scroll sideways. Keyboard: focus the table and use the left/right arrow keys.
| Record first | Where to find it | Gauge pass condition |
|---|---|---|
| Front cold pressure | Driver-door placard or owner’s manual | Clearly readable inside the stated range |
| Rear cold pressure | Driver-door placard or owner’s manual | Clearly readable even when it differs from the front |
| Spare pressure | Vehicle manual, label, or spare-specific instruction | Included in the range with an appropriate chuck |
| Special loaded or towing value | Vehicle manufacturer guidance | Covered only when that condition applies |
Read accuracy, resolution, and repeatability as different claims
Resolution is the smallest step the display or scale shows. Accuracy is how close the reading is expected to be to a reference under stated conditions. Repeatability is whether the same gauge gives closely grouped readings when the pressure and technique have not changed. A display reading 32.4 psi has 0.1 psi resolution, but it is not evidence of ±0.1 psi accuracy.
Look for a stated tolerance, the pressure range over which it applies, and any temperature or operating conditions. For example, one current consumer digital-gauge manufacturer states ±1 psi for a specific model; that is a model-specific specification, not a promise about every digital gauge. Avoid products that advertise only a large maximum pressure or extra decimal places without an accuracy statement.
NIST does not prescribe one recalibration interval for every measuring instrument. The needed interval depends on the accuracy requirement, device stability, environment, and other requirements. For a consumer tire gauge, follow its instructions and warranty. A periodic comparison with another stable gauge can reveal a suspicious shift, but it is not a traceable calibration and cannot prove which gauge is correct.
- Stated accuracy or tolerance—not only display resolution
- Conditions and pressure range covered by that tolerance
- A zero or self-check procedure explained in the manual
- Repeat readings that settle without a persistent leak at the chuck
- Clear service, replacement, or calibration guidance after damage
Fit the chuck to the wheel and valve stem
A credible specification is useless if the chuck cannot seal squarely. Look at every wheel on the vehicle, including the spare. Deep wheel pockets, short stems, wheel covers, dual-wheel assemblies, or aftermarket wheels can make a straight short chuck awkward. A dial gauge with a flexible hose or a dual-head chuck may improve access, but every extra joint is another place to inspect for wear or leakage.
A direct digital or pencil gauge can be quicker on an exposed passenger-car stem. The body should clear the wheel while your hand keeps the chuck aligned. Do not lever the valve stem sideways to make a bulky gauge fit. Replace cracked caps or damaged valve components through a qualified tire service rather than forcing a reading.
Test reach on the parked vehicle before the return window closes. Confirm the gauge also fits the spare in its storage location or that you can remove the spare safely as the manual directs. Drivers with dual rear wheels should use equipment and procedures intended for inside and outside duals; a generic short passenger-car chuck may not be appropriate.
Use one cold-tire measurement sequence
NHTSA and USTMA advise measuring every tire, including the spare, at least monthly when cold. Their practical definition is a vehicle parked for at least three hours; USTMA also describes less than one mile of moderate-speed driving. Use the vehicle maker’s definition when it is more specific.
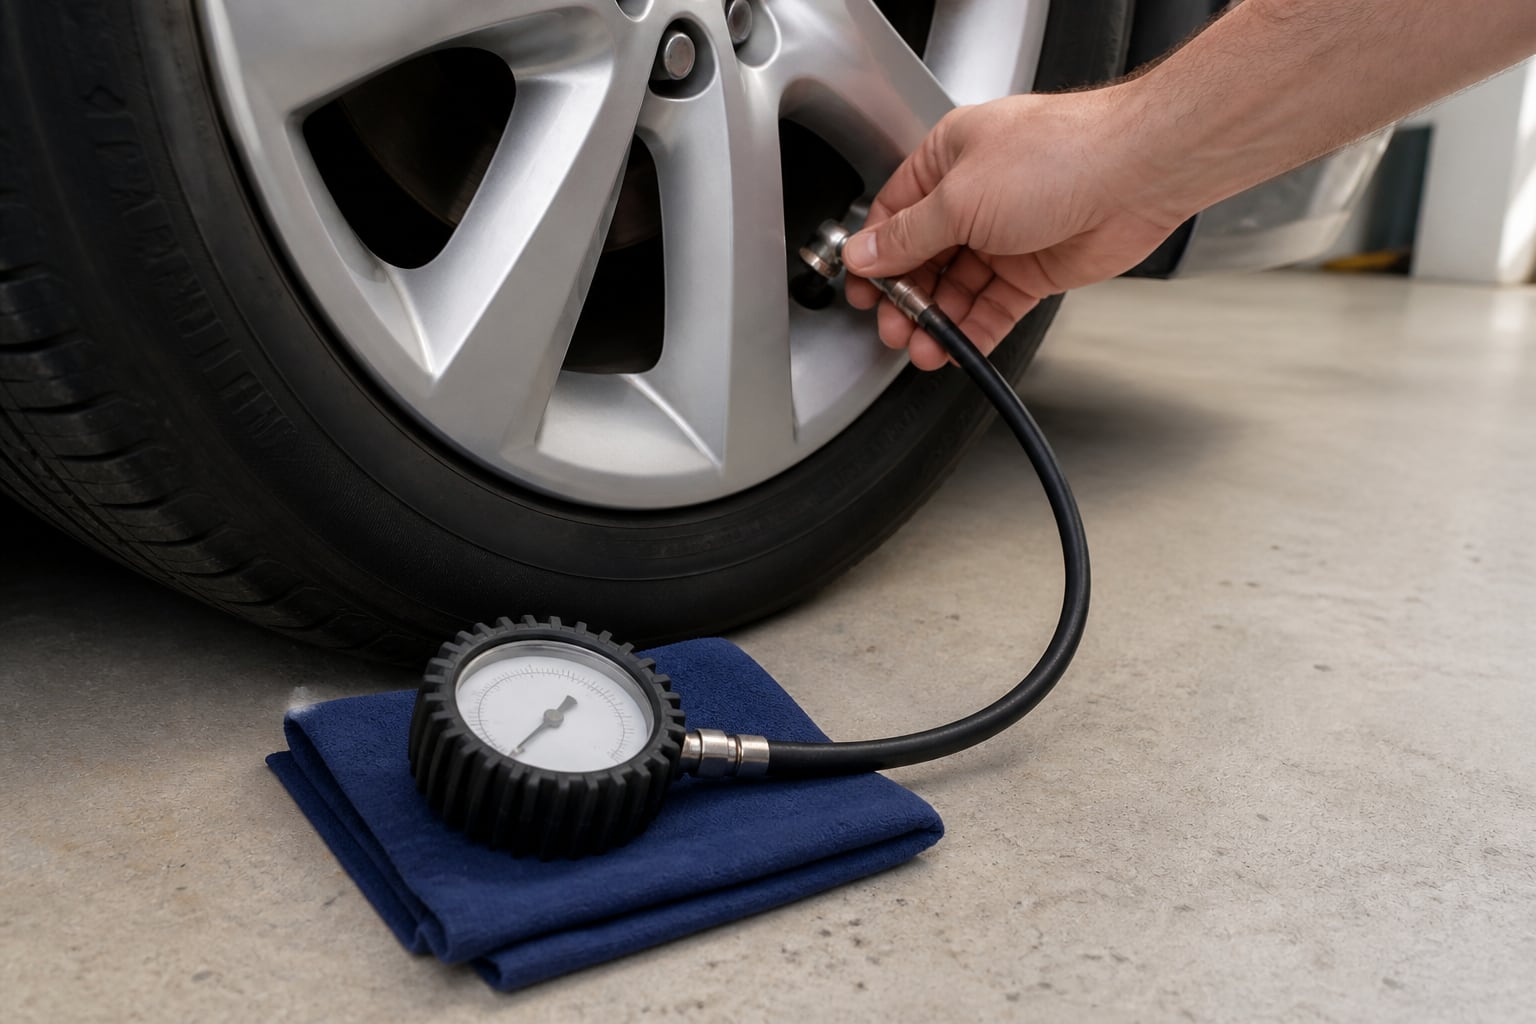
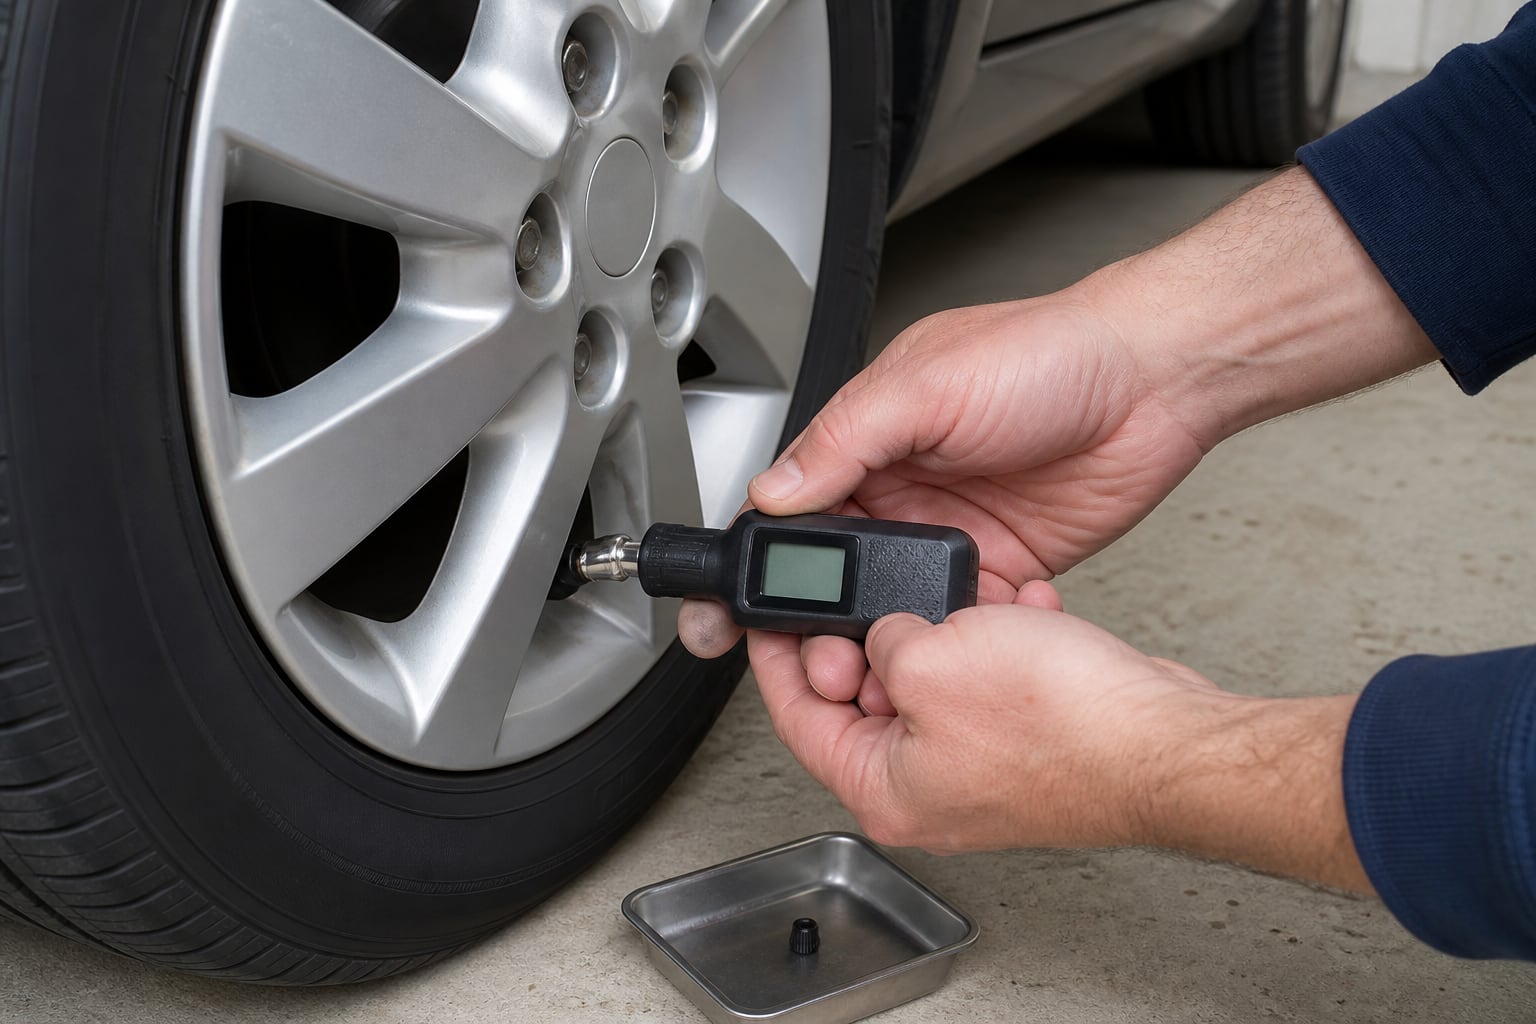
Park safely, set the brake, read the placard, and inspect each tire and valve area. Turn on or zero a digital gauge exactly as its manual requires. Remove the cap, place the chuck straight and firmly on the stem, read without a continuing hiss, and repeat once when the seal was imperfect. Michelin’s current instructions describe the digital display appearing immediately and the measuring stick extending from a pencil gauge; follow the exact product manual when operation differs.
Do not bleed a hot tire down to the cold placard value. Driving normally raises pressure. If one tire is repeatedly low, loses pressure quickly, has a bulge, cut, puncture, damaged valve, or produces an unstable reading, stop treating it as a gauge-shopping problem and have the tire and wheel inspected.
- Vehicle parked and tires cold
- Placard targets recorded before measuring
- Gauge inspected, powered, and zeroed as instructed
- Chuck held squarely with no continuing hiss
- Reading repeated after a poor seal or surprising result
- Valve cap reinstalled and unusual loss recorded
Digital gauges trade battery dependence for readability
A backlit number can be easier to read in a dim garage, and unit switching can help when a vehicle manual uses kPa as well as psi. Check whether the battery is replaceable, whether a low-battery indicator exists, how the gauge zeros, and whether auto shutoff gives enough time to measure and record the reading.
Temperature and storage limits matter if the gauge lives in a car. Heat, cold, moisture, a weak battery, or turning some models on while pressure is already applied can affect operation. Longacre’s current instructions for one digital gauge, for example, require an auto-zero at turn-on and warn against water, excessive pressure, drops, and strong electromagnetic fields. Those directions illustrate why the exact manual matters; they are not universal instructions for every digital gauge.
Dial gauges trade compactness for a large face and flexible reach
A dial face can show change clearly, and models with a hose and bleed button can make small cold-pressure adjustments convenient. Choose a scale that is readable around the vehicle’s normal pressure. A 0–60 psi face with useful markings can be more practical for ordinary passenger tires than a much wider scale with cramped increments.
Inspect the pointer at zero before use and protect the mechanism from drops. Check the hose, swivel, chuck, and bleed valve for leakage. Liquid-filled gauges can have model-specific pressure-equalization or vent instructions as ambient temperature changes; do not open or adjust anything unless the manufacturer directs it. A protective bumper reduces impact risk but does not prove calibration survived a fall.
Pencil gauges trade display size for simplicity
A pencil gauge needs no battery and fits easily in a glovebox or small tire kit. Pressed onto the stem, air pressure moves a marked sliding stick out of the body. Read the correct scale at the body edge without touching or bending the stick, then push it fully back only after recording the result.
Range still matters. Current manufacturer examples include passenger-oriented 5–50 psi gauges and separate 20–120 psi high-pressure models. That difference is the useful lesson: a familiar chrome body does not tell you the range. Keep the inlet and sliding surfaces clean and dry, and retire a gauge whose stick binds, bends, separates, or gives inconsistent repeat readings.
Use this final buying and replacement checklist
Buy the simplest gauge whose range covers the placard, spare, and approved loaded conditions; whose accuracy tolerance is stated; whose increments are readable; and whose chuck reaches every stem without side-loading it. Then protect it in a dry case and use the same cold-measurement sequence each month. That routine makes trend comparisons more useful than switching among several unknown gauges.
Replace or professionally evaluate a gauge after a hard drop, water intrusion, cracked case, bent stick, zero shift, leaking hose, damaged chuck, weak or corroded battery compartment, or repeat disagreement that technique cannot explain. Do not claim NIST traceability, calibration, or a specific accuracy unless the documentation for that exact unit supports it.
- Range covers every road tire and the spare
- Accuracy tolerance and conditions are published
- Scale or display is readable at the normal placard pressure
- Chuck reaches each stem without twisting it
- Battery, hose, stick, or dial can be inspected and protected
- Return, warranty, service, and replacement information are clear
SOURCES & FURTHER READING
- NHTSA TireWise: monthly cold checks, vehicle placard pressure, gauge use, and TPMS limits↗
- USTMA Tire Care & Safety guide: gauge range, 1 psi increments, cold definition, spares, and pressure loss↗
- USTMA Tire Care Essentials: cold checks, TPMS limits, temperature, long trips, loads, and towing↗
- Michelin USA: digital and pencil gauge measurement steps↗
- NIST: why measuring instruments do not share one universal recalibration interval↗
- NIST Engineering Statistics Handbook: bias, resolution, drift, environment, and calibration↗
- Longacre official digital tire-gauge instructions: zeroing, battery, moisture, pressure, and handling↗
- Slime official consumer-gauge example: stated range, ±1 psi specification, backlight, battery, and bleed control↗
- Slime official high-pressure pencil-gauge example: separate 20–120 psi range↗
COMMON QUESTIONS
Frequently asked questions
Which tire pressure gauge type is most accurate?+
No display type guarantees accuracy. Compare the exact gauge’s stated tolerance, range, conditions, zero procedure, condition, and repeatability. Digital tenths, a large dial, or a metal pencil body are not accuracy proof by themselves.
Is a 0–60 psi gauge enough for a passenger car?+
USTMA says 1 psi increments up to 60 psi are sufficient for most passenger tires, but check the vehicle placard, spare, loaded conditions, and every vehicle you service. Higher-pressure or dual-wheel applications may need a different range and chuck.
Why do two tire gauges give different readings?+
A poor seal, warm tire, different resolution, low battery, zero error, damage, drift, or real accuracy differences can contribute. Repeat the cold measurement with consistent technique. If the disagreement remains important, compare against a qualified reference or replace the suspect gauge.
Can I rely on the gauge built into a tire inflator?+
Use it according to the inflator manual, but a separate handheld gauge is useful for checking before power is connected and verifying the final cold pressure. Do not assume either reading is correct when the two disagree materially.
How often should a consumer tire gauge be calibrated?+
NIST does not set one interval for every measuring device. Follow the gauge manufacturer’s instructions and your accuracy needs. After a hard drop, water intrusion, zero shift, damage, or persistent inconsistent readings, replace or have the gauge professionally evaluated.
Can I keep a tire pressure gauge in the car?+
Only within its documented storage-temperature and moisture limits. Protect it from cargo impact, dirt, water, and extreme heat or cold; monitor the battery in a digital gauge and keep the pencil stick or dial mechanism from being bent or dropped.

We check guidance against source material, equipment instructions, and our published editorial standards. Read the policy →