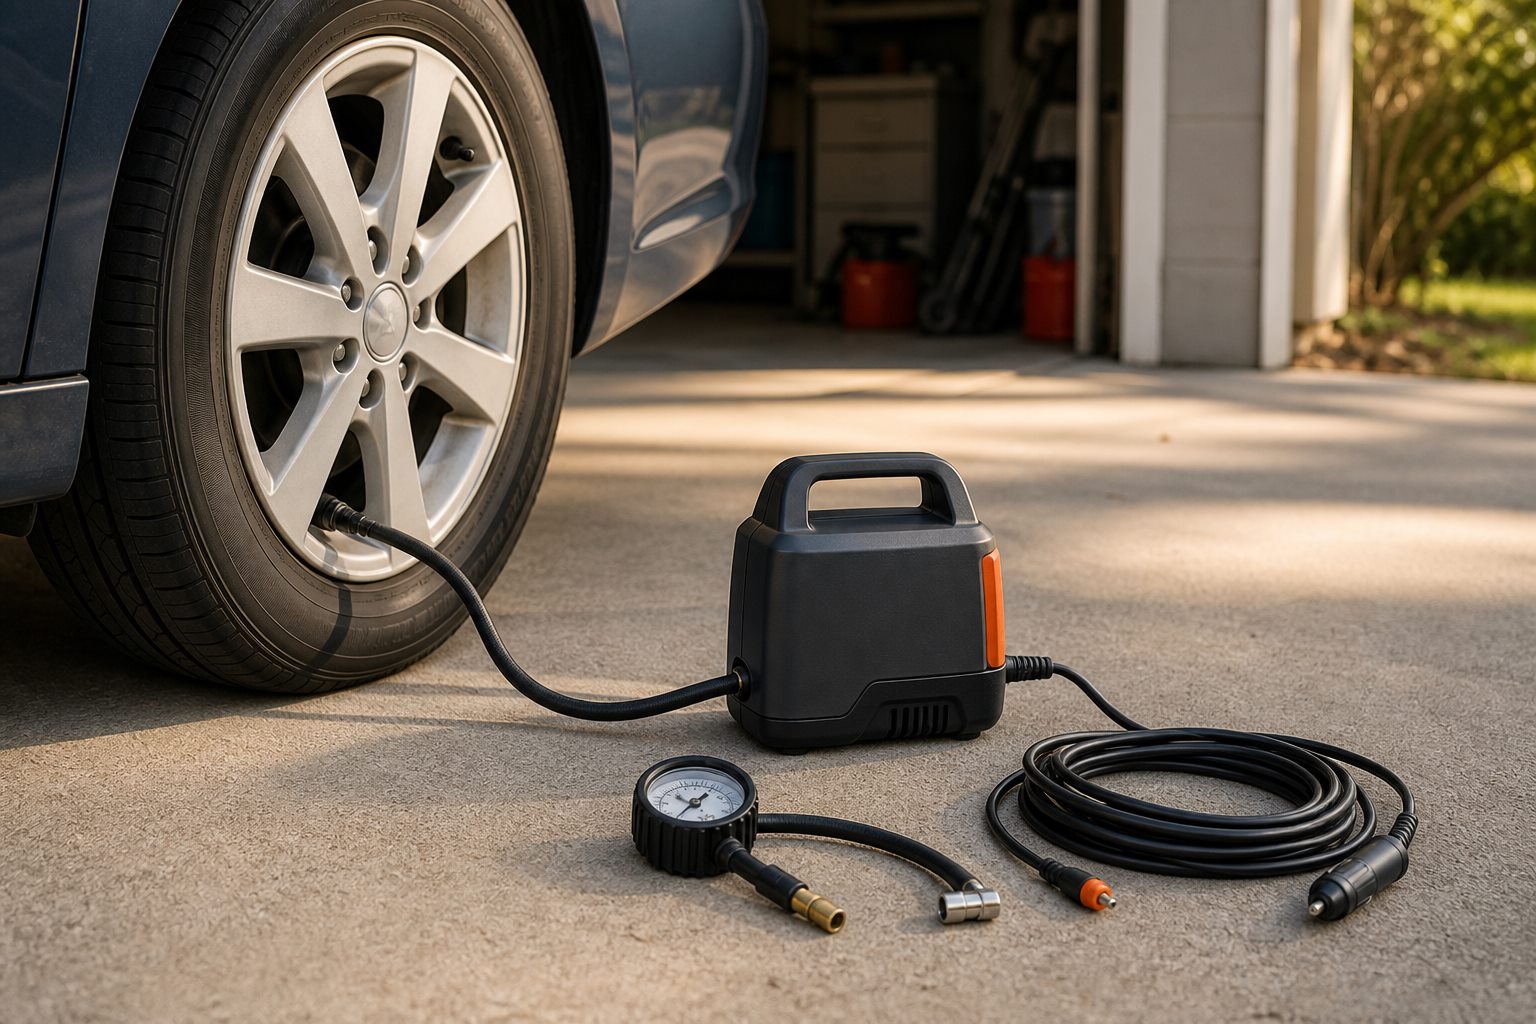
For most passenger cars, buy an inflator that can reach every tire from its power source, publishes a realistic fill-time or duty-cycle specification, includes a dependable gauge, and fits where you will actually store it. Use the cold pressure on the driver-door placard—not the maximum pressure molded into the tire sidewall—as your target.
Maximum PSI is rarely the deciding specification
Portable inflators are often marketed with an impressive maximum-pressure number. That figure can be relevant for unusual high-pressure applications, but it does not tell you how quickly the unit will add five or ten pounds of pressure to a warm passenger-car tire, how hot it will become, or whether its hose reaches the rear wheel of a long vehicle.
Start with the ordinary job. Record the recommended cold pressures for your vehicle, the largest tire you expect to service, and the amount of correction you normally make. An inflator for monthly top-offs has a different workload from one expected to recover a nearly flat light-truck tire. If a tire has suffered a puncture, sidewall damage, bead problem, or rapid pressure loss, inflation is not a substitute for inspection and repair.
Use the vehicle placard as the target
NHTSA advises checking tires at least monthly when they are cold, meaning the vehicle has not been driven for at least three hours. The correct pressure is listed on the Tire and Loading Information label at the driver-side door area or in the owner’s manual. The value molded into the tire sidewall is not the vehicle’s recommended operating pressure.
Keep a separate handheld gauge even when the inflator has a digital display. It gives you a second reference and makes it easier to check a tire before connecting power. Gauge readings can differ, so consistency matters: use the same trusted gauge for routine checks and investigate a recurring loss instead of repeatedly topping off the tire.
Choose the power source around where the tool will live
A 12-volt plug-in inflator can remain in the vehicle and avoids battery aging in a cordless tool, but its cable must reach the outlet and every tire without being stretched across sharp edges. Confirm that the vehicle outlet and fuse are suitable for the inflator’s stated draw, and follow any engine-running instructions in both manuals.
Cordless inflators are convenient in a driveway and may share batteries with tools you already own. Their useful runtime changes with battery size, temperature, tire volume, and target pressure. Direct-to-battery units can support heavier workloads, but they add clamps, routing, and polarity procedures. No power style is universally best; the safest choice is the one whose setup you understand and can test before an emergency.
- 12-volt plug: simple vehicle storage, but verify outlet rating and cable reach
- Cordless battery: fast setup, but monitor charge state and battery condition
- Battery clamps: useful for higher current, but require correct connection procedure
- Household AC: practical in a garage, but less useful away from home
Five specifications that predict everyday usefulness
Look for a fill-time test that names the tire size and starting and ending pressures. A claim without those conditions is hard to compare. Check the duty cycle or required cooling interval, because small compressors create heat and may need to rest between tires. The manual should explain what a thermal shutdown means and when the unit can be handled or stored.
Check two routes separately: power source to compressor, then compressor to tire valve. Adding the advertised cord and hose lengths gives only an upper bound, not proof that the setup fits. The compressor still needs a suitable resting place between those routes. Examine the valve connector, hose strain relief, display visibility, noise, and how the cord packs away. Preset shutoff is convenient, but it does not remove the need to verify the final pressure with a gauge.
- Published fill time with tire size and pressure range
- Duty-cycle or cooling guidance
- Enough power-cord reach and separate hose reach for every tire you plan to service
- Replaceable fuse or clearly documented protection
- A case that stores the hose without severe kinks
Measure two paths, not one advertised reach number
With the vehicle parked safely and the inflator disconnected, choose a stable, dry compressor position allowed by its manual. Measure the routed distance from the approved power connection to that position. Then measure from that position to each valve, including the spare if you intend to inflate it. Account for valve height, corners, connector access, and slack so neither line pulls on its connection. A straight line through the vehicle is not a usable route.
Use this acceptance check for each position: available power lead must cover the routed power path with slack, AND available hose must cover the routed air path with slack. Moving the compressor can improve one path while making the other worse. There is no universal extra-foot allowance: verify the actual setup without stretching, pinching a cable in a door, or leaving the compressor hanging from a valve.
Hypothetical example, not a product test: a tool has a 10-foot power cord and a 2-foot hose. Your chosen resting position needs 8 feet of cord and 3 feet of hose before adding slack. Although 12 feet of combined length exceeds the 11-foot combined route, the setup fails because the hose is too short. Find another permitted position and remeasure both paths, or choose a different tool.
Check the exact model suffix. VIAIR lists a 10-foot lead for its battery-clamp EVC88P and a 6-foot lead for its EVC88P7 variant, with a 16-foot hose for both. Those specifications illustrate why similar model names are not interchangeable; they are not our measurements or a recommendation that either model fits your vehicle.
If columns extend beyond the screen, scroll sideways. Keyboard: focus the table and use the left/right arrow keys.
| Check | Record | Pass condition |
|---|---|---|
| Power path | Approved connection to chosen resting position | The lead reaches with slack and safe routing |
| Air path | Resting position to each valve | The hose reaches without pulling the chuck or lifting the tool |
| Spare tire | Storage/access position and valve location | The valve is accessible using the vehicle's documented procedure |
| After repositioning | Both paths again | Improving hose reach has not made the power path fail |
Know when this setup is not suitable
This selection process is for routine inflation of serviceable tires in a safe location. It does not cover bead seating, repairing a damaged tire, working beside moving traffic, or adapting an inflator to an unapproved power source. If you cannot reach a valve safely or a tire repeatedly loses pressure, stop and arrange appropriate service.
Engine-running instructions are model-specific. The EVC88P manual requires a running engine; do not generalize that requirement to other inflators or vehicles. Plan that job outdoors, not in a garage. CDC warns that running a vehicle in an attached garage is unsafe even with the door open. If the vehicle and tool instructions cannot both be followed safely, choose another compatible tool or get assistance.
For the EVC88P example, the manual also requires dry conditions, an attended operation, and a fully uncoiled power cord; hot components need care after use. Apply the instructions for your own model. A thermal stop is not permission to keep restarting the compressor, and a maximum-PSI claim is not a continuous-runtime rating.
Run a driveway test before trusting it on the road
Unpack the inflator at home, read the manual, and connect it using the exact power source you plan to use. Confirm that the hose reaches every valve, the cord does not cross a hot component, the unit stays stable, and you know how to stop it. Add a few pounds to one cold tire, compare the built-in reading with your separate gauge, then return the tire to the placard pressure.
After the unit cools, repack it with a gauge, valve caps, gloves, and the relevant instructions. Recharge cordless batteries on the manufacturer’s schedule and inspect cords and hoses periodically. A compact inflator earns its space by being familiar and ready—not by carrying the largest number on its packaging.
SOURCES & FURTHER READING
COMMON QUESTIONS
Frequently asked questions
How much PSI should a portable tire inflator have?+
It needs to cover the pressures required by your vehicle, but maximum PSI alone is not a useful quality measure. Compare fill time, duty cycle, reach, power compatibility, and the conditions stated in the manual.
Can I set tire pressure from the number on the tire sidewall?+
No. Use the recommended cold pressure on the driver-door Tire and Loading Information label or in the owner’s manual. The sidewall number is not the vehicle’s recommended operating pressure.
Should I keep an inflator in the car?+
It can be useful if its temperature and storage limits allow it. Secure it so it cannot become a projectile, maintain its battery if cordless, and test the complete setup before relying on it.

We check guidance against source material, equipment instructions, and our published editorial standards. Read the policy →