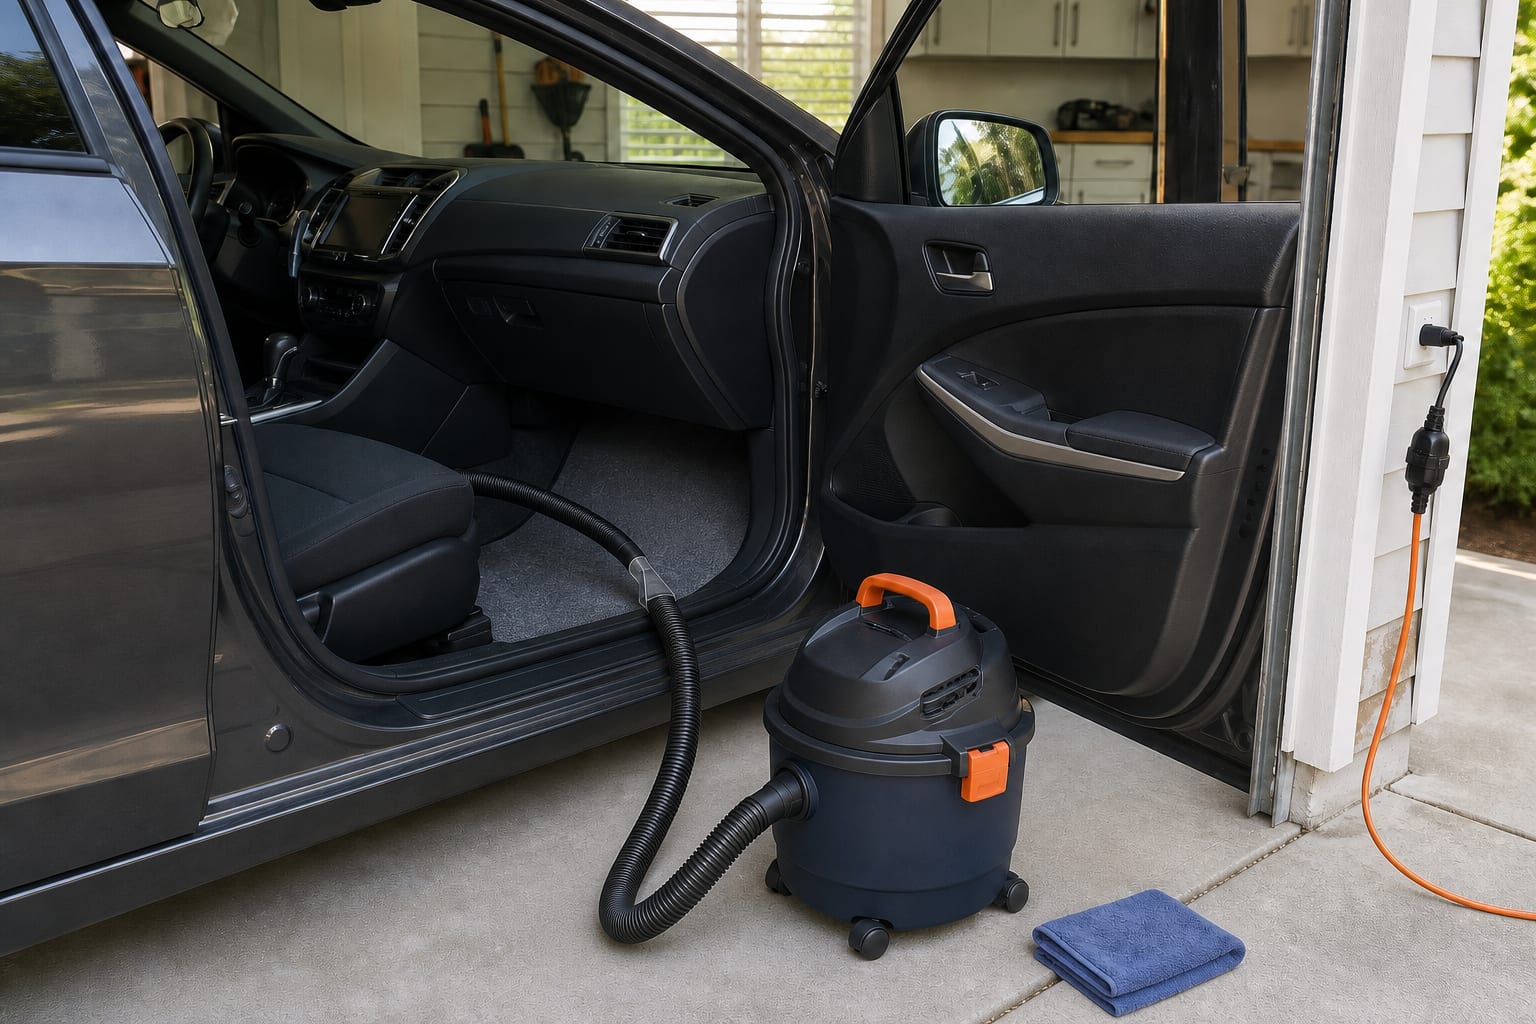
Yes—if it is a true wet/dry vacuum approved for liquid pickup and the water came from a recent, clean source such as rain or a clean-water leak. Extract the surface water, expose and dry the padding, keep every electrical connection dry and GFCI-protected, and aim to dry the entire carpet assembly within 24–48 hours. Stop and use professional help for floodwater, sewage, fuel, coolant, battery electrolyte, unknown liquid, visible mold, or water around vehicle electronics.
First decide whether this is a clean-water DIY job
In this guide, “shop vac” means a utility vacuum whose manufacturer explicitly approves wet pickup. A dry household vacuum is not a substitute. Before plugging in anything, identify the source and stop the leak. A recently opened window, a failed door seal, or a small clean-water spill can be reasonable DIY candidates when the water is shallow and the vehicle still has dry, safe access.
Do not treat every wet footwell the same. Storm floodwater can contain sewage, fuel, chemicals, and biological contamination. Automotive fluids and unknown liquids can also be combustible, toxic, corrosive, or incompatible with a consumer vacuum. If water reached wiring, seat modules, battery components, or other electronics, follow the vehicle manufacturer’s guidance and use a qualified repair or restoration professional.
If columns extend beyond the screen, scroll sideways. Keyboard: focus the table and use the left/right arrow keys.
| What made the carpet wet | Practical next step |
|---|---|
| Recent rain entry or a small clean-water spill | DIY extraction may be reasonable after the source is stopped and electrical access is dry. |
| Storm floodwater, sewage, or street runoff | Do not run a household wet/dry vac. Treat it as contaminated-water restoration. |
| Fuel, coolant, battery electrolyte, solvent, or unknown liquid | Keep ignition sources away and contact the appropriate professional; do not vacuum it. |
| Musty odor, visible growth, or padding wet for roughly 24–48 hours | Assume the surface is not the whole problem and arrange a deeper inspection or professional remediation. |
Check the layers, not just the visible carpet
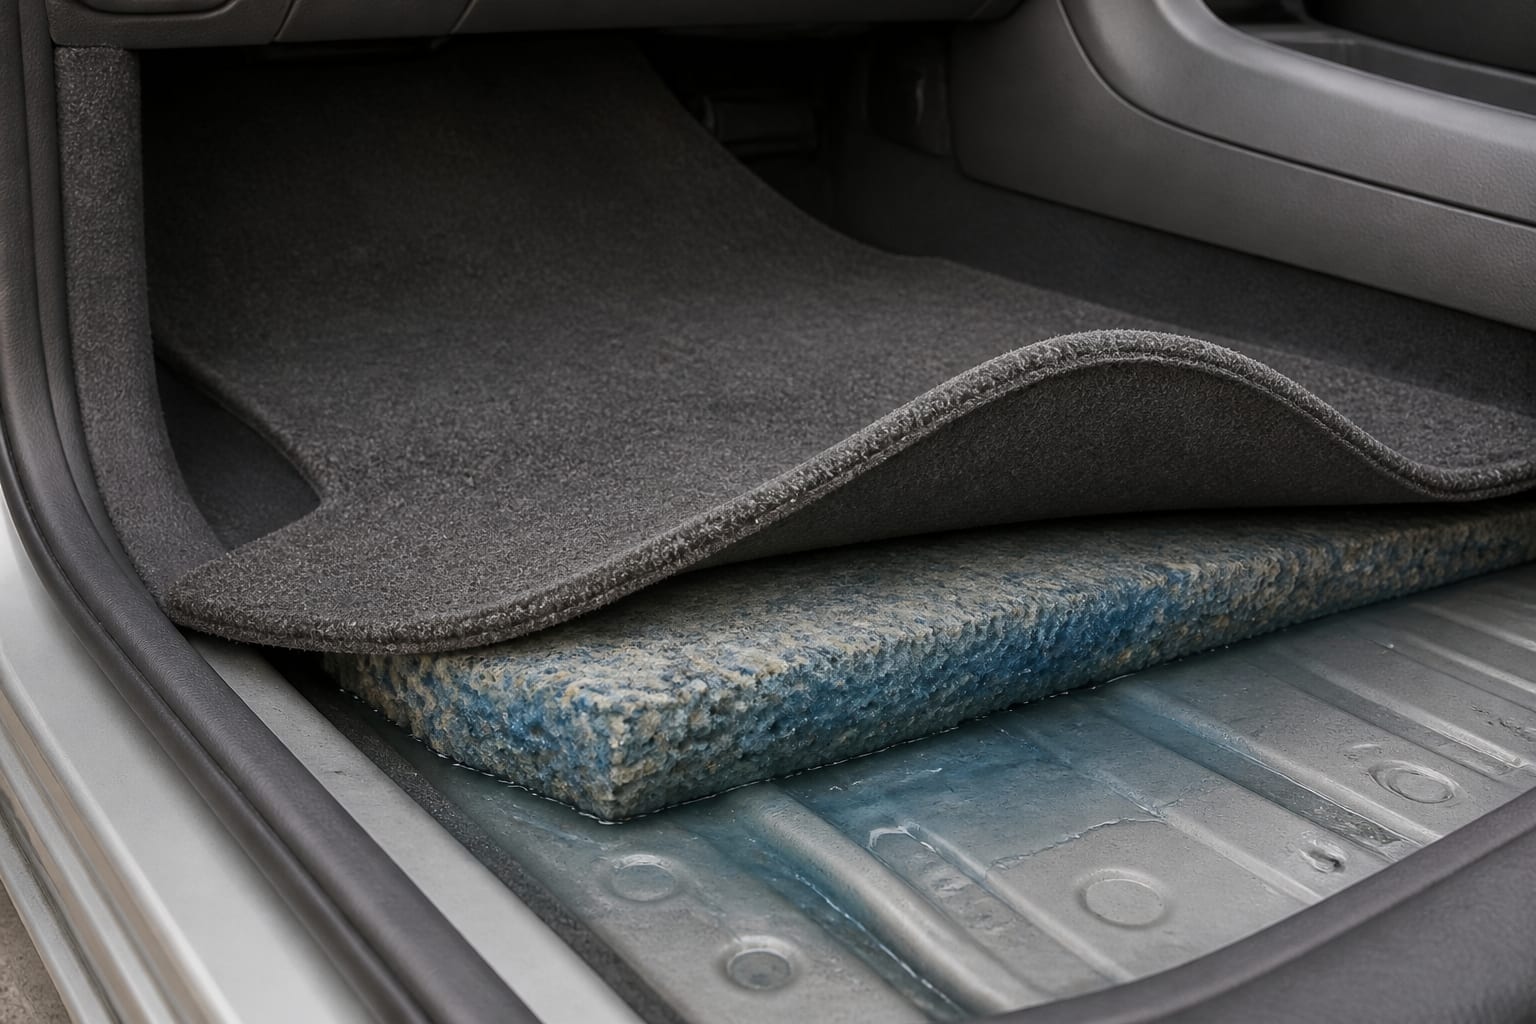
Remove the floor mat and press a clean, dry microfiber towel firmly into several points of the footwell. Then check the lowest edge you can reach without forcing trim. Automotive carpet often sits over absorbent padding or molded insulation, so the pile can feel only damp while the layer beneath holds much more water.
Compare the wet area with the matching dry footwell. If the carpet squishes, water reappears after pressure, or moisture extends under a seat or fixed trim, surface extraction will not be enough. Do not remove seats, restraint components, wiring connectors, or glued trim unless the vehicle service information and your skill level support that work. A restoration shop can lift and dry the assembly without guessing around safety systems.
- Map the wet boundary with towel pressure
- Check the front, rear, and door-sill low points
- Look for continuing drips before drying
- Treat wet padding as a separate drying layer
Configure the wet/dry vacuum by its own manual
Empty dry debris and remove any disposable dry collection bag unless the manual specifically approves it for wet pickup. Install the exact wet-pickup filter arrangement required for your model. Shop-Vac commonly specifies a foam sleeve for liquid pickup, while some RIDGID manuals allow a cartridge filter for small liquid amounts and recommend removing it for larger amounts. Those instructions are not interchangeable.
Keep the filter cage and float mechanism installed whenever the manual requires them; the float is designed to interrupt airflow as the tank fills. Inspect the hose, cord, plug, and tank before use. Put the vacuum on a dry, stable surface outside the vehicle, keep connections off the floor and away from the wet work area, use GFCI protection, and never plug or unplug equipment with wet hands or while standing in water.
- Wet/dry rating confirmed on the machine or manual
- Tank emptied and dry-only bag removed when required
- Correct wet filter, cage, and float installed
- Dry GFCI-protected power source and undamaged cord
- No gasoline, solvent, unknown fluid, or combustible vapor
Extract in slow, overlapping passes
Use a wet upholstery, carpet, claw, or squeegee-style nozzle approved for the vacuum. Press it flat enough to seal against the carpet, move slowly for 6–12 inches, then overlap the next pass. Work from the outer edge toward the wettest low point so you can see whether water is still migrating from the padding.
Make several passes in different directions and follow each set with firm towel pressure. Stop and empty the tank when the float closes, the motor sound changes as described by the manual, or liquid nears the model’s limit. One U.S. gallon of water weighs about 8.3 pounds, so a partly filled tank can become awkward quickly; use the drain or empty small amounts rather than lifting a heavy machine.
Finish with airflow and dehumidification
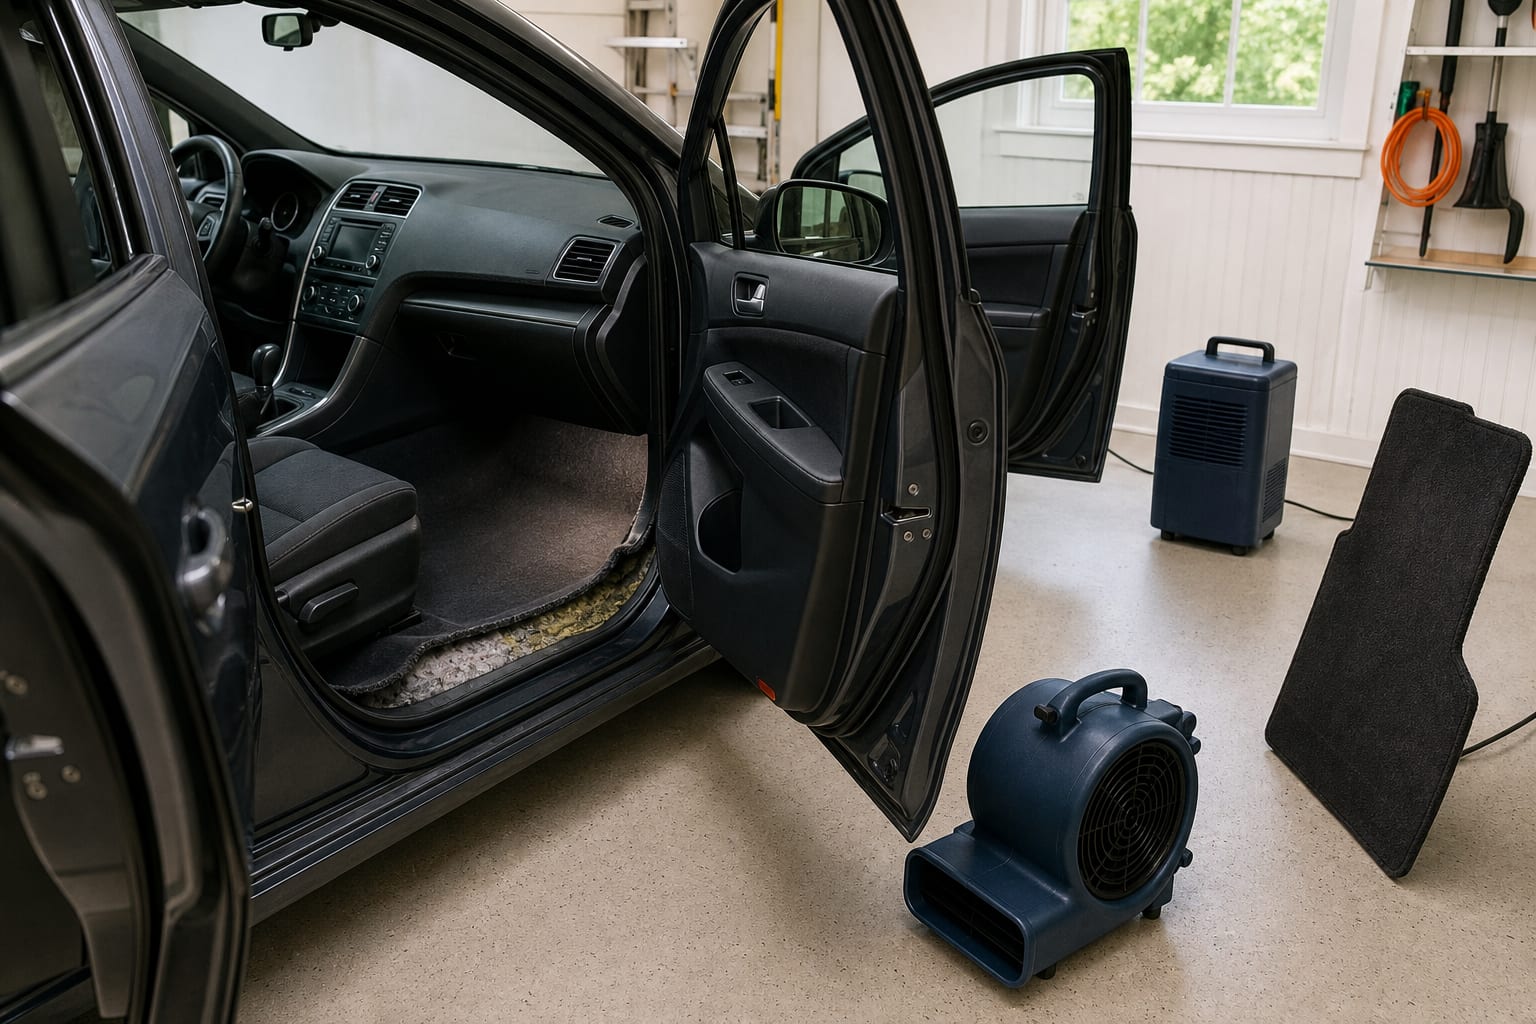
EPA guidance is explicit that wet vacuuming alone does not dry carpet or padding. Once extraction stops producing liquid, blot again with dry towels, raise an accessible carpet edge without damaging trim, and move dry air across the exposed layers. Keep doors open only in a secure, dry location and direct air through the cabin rather than sealing humid air inside it.
A dehumidifier can help when it is operated in a suitable enclosed garage or room according to its manual; it is less useful in an open outdoor space. EPA and CDC guidance uses 24–48 hours as the practical window for drying wet materials before mold risk rises. Treat that as a deadline to verify the backing and pad—not as permission to leave them wet for two days.
- Remove and dry mats separately
- Move dry air across every wet layer
- Keep fans, plugs, and connectors on dry surfaces
- Recheck the lowest padding after several hours
- Escalate if moisture, odor, or condensation persists
Clean the machine and verify the leak is gone
Dispose of collected clean water where local rules and the liquid source allow. If the contents are anything other than known clean water, do not pour them into a storm drain or onto the ground. Unplug the vacuum, then clean and dry its tank, hose, attachments, and wet filter according to the manufacturer. EPA notes that wet-vac components should be dried after use because moisture and mold residue can remain on them.
Before reinstalling mats, press-test the carpet and padding again and inspect after the next rain, car wash, or air-conditioner use that could reveal the leak. A recurring wet footwell needs diagnosis—door membrane, drain, windshield seal, body seam, heater core, or HVAC condensate are different repairs. Do not mask the source with fragrance or keep vacuuming the symptom.
SOURCES & FURTHER READING
- U.S. EPA: wet-vacuum limits and drying carpet and padding↗
- CDC: safe cleanup, contaminated water, electricity, and the 24–48 hour drying window↗
- Shop-Vac: official wet-pickup filter and hazardous-material guidance↗
- OSHA: flexible cords and wet electrical connections↗
- RIDGID: model-specific wet-pickup, float, filter, and tank guidance↗
COMMON QUESTIONS
Frequently asked questions
Can I use a regular household vacuum on wet car carpet?+
No. Use only a wet/dry vacuum whose manufacturer explicitly approves liquid pickup. A dry household vacuum is not designed for this job.
Should I remove the filter before vacuuming water?+
Follow the exact model manual. Some machines use a foam wet filter, some allow a cartridge for small liquid amounts, and some recommend removing a cartridge for larger pickup. Keep any required filter cage and float installed.
Will a shop vac dry the carpet padding?+
Not by itself. It removes recoverable liquid, but the carpet backing and padding must also be exposed to airflow and dried. Verify the lowest layer rather than judging only the carpet surface.
How long can car carpet stay wet before mold becomes a concern?+
EPA and CDC guidance recommends drying wet materials within about 24–48 hours. Start immediately and escalate if the pad remains wet, the source is contaminated, or musty odor or visible growth appears.

We check guidance against source material, equipment instructions, and our published editorial standards. Read the policy →