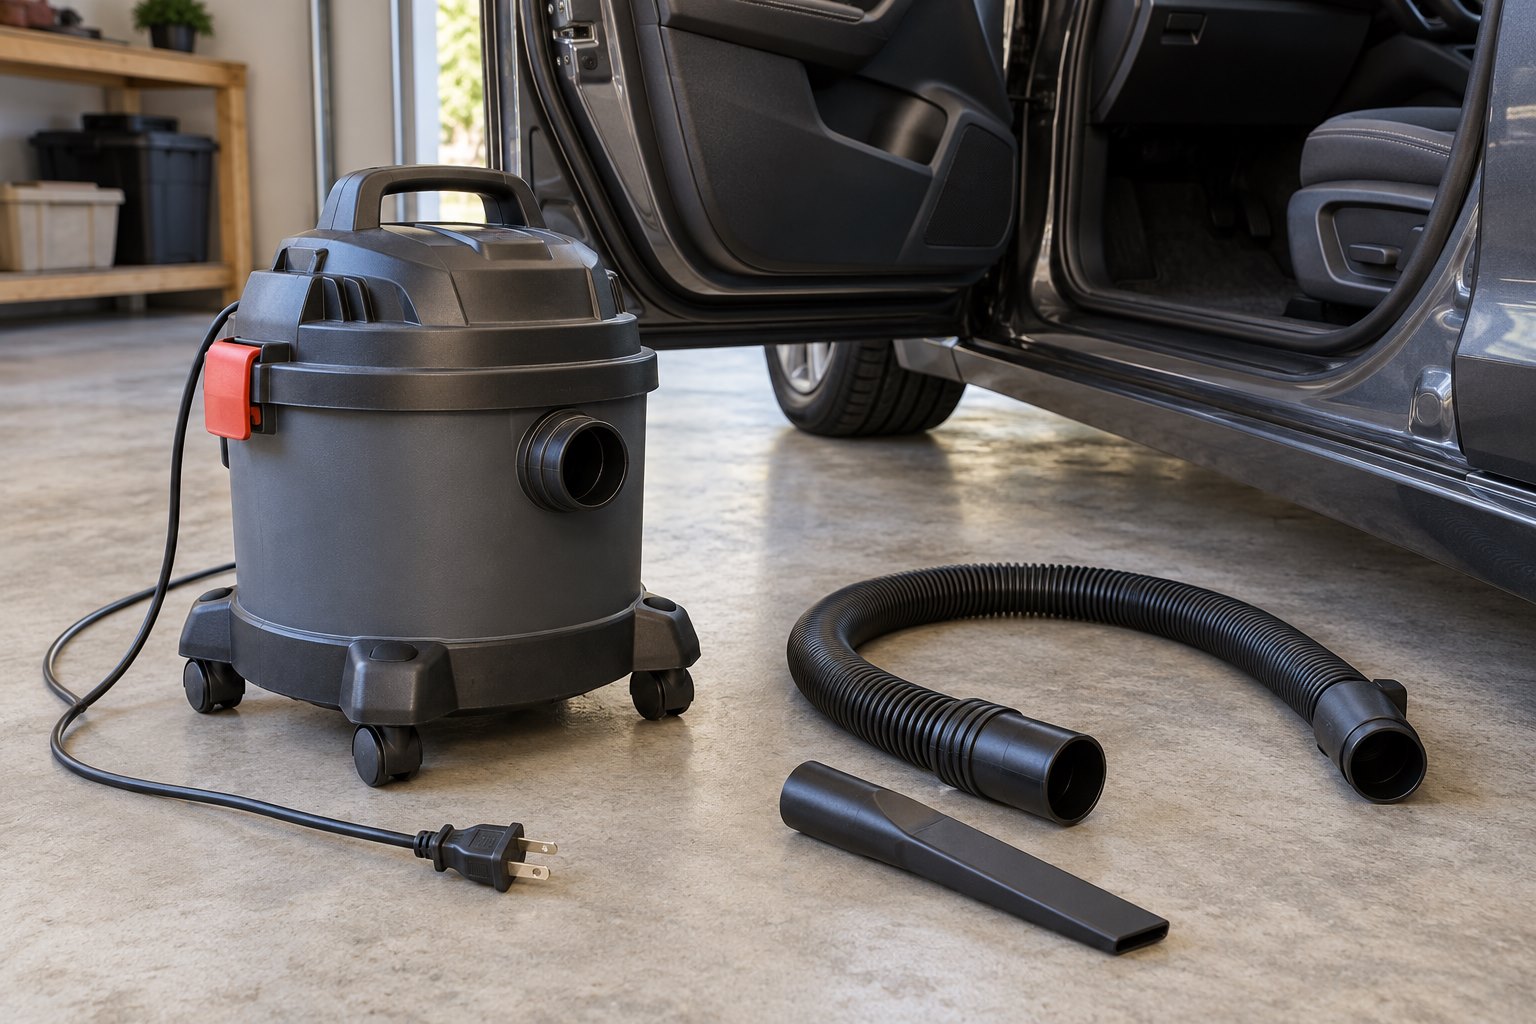
Switch the vacuum off and unplug it before inspecting anything. For ordinary car-interior debris, begin with the checks your exact manual permits: the nozzle and hose, tank or bag, correct filter, and accessible connections. A change after tipping or liquid pickup needs the model's float and wet-mode instructions—not a filter-removal shortcut. Smoke, electrical odor, damage or liquid near motor parts means stop and seek service. This guide does not diagnose a motor or replace its manual.
First decide whether this is an owner-check problem
This page is for a corded wet/dry utility vacuum that previously worked and now picks up ordinary dry crumbs, grit or similar permitted interior debris poorly. It is not a procedure for a central car-wash vacuum, a cordless machine, a battery fault, a household dry vacuum, or an unidentified substance.
Park and stop the cleaning task. Switch the machine off, disconnect its plug, and keep the work location dry. Do not inspect a live inlet, block it with your hand, or open the motor housing to compare suction. If the cord, plug or machine is damaged, or the unit has been dropped into water, use the maker's service path rather than another test run.
Do not use the vacuum to investigate fuel, automotive fluids, hazardous dust or unknown liquid. A loss of pickup is a reason to stop and identify the problem, not permission to try a more aggressive attachment or keep the motor running. The stop rule for unidentified material is our conservative editorial precaution based on manufacturers' hazardous-material exclusions, not a quoted diagnosis.
Describe the change before replacing a part
Write down the last normal task and the first change you noticed. Did performance fade through the cabin, stop abruptly after a tip, or seem poor only after a different nozzle was fitted? Record observations, not a diagnosis. 'Weak after fitting tool A' is useful; 'motor is dead' may not be supported.
Keep the same description when you inspect the machine or contact support. Do not change several accessories and filter parts at once, discard the originals, and then try to reconstruct the sequence from memory.
If columns extend beyond the screen, scroll sideways. Keyboard: focus the table and use the left/right arrow keys.
| Observation | Unplugged owner check, only if permitted | Finding → next action |
|---|---|---|
| Gradual loss during an ordinary dry task | Review tank/bag loading and the correct filter’s condition | Full or loaded → carry out the permitted emptying/filter maintenance; unresolved → record it for support, not a larger-tank purchase. |
| Only a particular crevice tool seems ineffective | Inspect that detached tool and its attachment path for visible obstruction or poor fit | Obstructed → use the maker’s clearing method; cracked or wrong-fitting → identify the correct part. An intact-looking path does not prove a motor fault. |
| Poor dry pickup after liquid pickup or filter washing | Check the exact manual’s required dry-mode filter and drying instructions | Wet, damaged or wrong configuration → do not resume dry pickup until the specified arrangement is restored; do not remove the filter to compensate. |
| Abrupt change after tipping or liquid pickup | Stop; consult the exact model’s float, tank and wet-mode instructions | Follow its permitted correction; uncertainty or recurrence → contact support. Do not bypass the float or assume a universal reset. |
| Owner maintenance is complete but the fault remains | Record completed checks and the remaining symptom | Stop repeated retries and use the manufacturer or qualified-service path; do not open the motor housing. |
Inspect the permitted path, not the powered inlet
With the plug disconnected, follow the manual's attachment-removal instructions. Look for ordinary debris in the nozzle, wand and hose, and inspect the hose for visible damage. Clear only material that can be handled safely using the manufacturer's method. Stop for sharp, hazardous or unidentified material; do not push tools toward the motor or improvise a hose repair.
If you normally use a compact car nozzle or extension assembly, record its part number and which pieces were connected when the problem appeared. Hose dimensions in inches and routed length in feet can help support identify the actual setup. They are identifying details here, not a home airflow test.
Check collection and sealing parts without guessing the filter mode
Manufacturer troubleshooting pages identify a full collection container, loaded filter, loose connections or damaged hose as possible causes—not a verdict on your particular machine. Use the manual to empty permitted contents, maintain the correct filter or bag, and reseat owner-accessible parts.
Inspect the hose connection, applicable drain cap and lid or powerhead seating where the exact design permits. Do not force a latch, seal a leak with improvised materials or substitute an almost-fitting part. If the correct assembly is uncertain, stop and get the model-specific instructions.
One specific dry-back example: the RIDGID HD12000 manual, SP7160, says dry pickup needs a dry filter and that dust quickly clogs a wet one (printed page 6). Its filter-care section requires drying before reinstallation and reuse (page 9). If your last task involved liquid or a washed filter, check your own model’s equivalent instruction before returning to car crumbs or sand. This is a model-specific reason to pause—not a universal drying time, filter-washing method or instruction to run without a filter.
Treat a tip or wet-pickup change as a separate branch
Float and wet-filter arrangements differ. The RIDGID HD12000 manual is an example of why the full model suffix matters; its liquid-pickup instructions do not establish the setup for every RIDGID or Shop-Vac. Do not remove the float or cage, run dry pickup without the required filter, or follow a fixed internet reset time.
This article does not ask you to collect water as a diagnostic test. If the original task actually involved wet fixed carpet, first resolve whether the source and equipment are suitable for liquid pickup; restoring a vacuum does not establish that the vehicle padding is dry.
Keep a service-ready check record
Copy the blank-field record below into a note before changing parts. The underscore fields are for your own observations, not pre-filled test results. Include what was not checked as well as what was checked.
This is a communication aid, not a safety certificate or a measured CFM, sealed-lift or motor result. A useful record can also say 'not checked because the manual did not permit it.' Do not create an energized test simply to fill every blank.
If the owner checks do not resolve the issue, retain the record and use the manufacturer's support process. Some support pages include technical repair material; this homeowner guide intentionally does not reproduce switch tests, wiring changes, motor disassembly or powered inlet comparisons.
If columns extend beyond the screen, scroll sideways. Keyboard: focus the table and use the left/right arrow keys.
| Field | Record your observation | Why it matters |
|---|---|---|
| Exact equipment | Model/suffix ___; serial label/photo ___; manual page ___ | Avoids applying another unit’s filter or float instructions. |
| Task and change | Dry/wet ___; permitted material ___; last normal use ___; sudden/gradual ___ | Separates observations from an unverified diagnosis. |
| Accessory path | Tool/adapter part ___; hose diameter in inches ___; length in feet ___ | Documents the actual car-cleaning assembly. |
| Permitted checks | Plug disconnected ___; tank/bag ___; filter part/condition ___; visible hose/connection findings ___ | Makes completed owner maintenance and unknowns inspectable. |
| Decision | Corrected per manual ___; not checked because ___; service request details ___ | Records a next action without inventing powered tests. |
Keep the surrounding car-cleaning tasks separate
Choosing a replacement tool is a different decision from locating a new fault. If replacement is eventually appropriate, use the capacity-and-reach guide instead of inferring that today's symptom means the tank is too small.
Removable mat cleaning and ordinary salt spot cleaning also have different material and drying requirements. Do not continue either task with a suspect machine merely because the outside of the carpet looks clean.
SOURCES & FURTHER READING
- Shop-Vac official troubleshooting: loss of suction (checked October 26, 2026)↗
- RIDGID NXT troubleshooting guide (checked October 26, 2026)↗
- RIDGID HD12000 owner’s manual SP7160: safety, dry/wet mode and filter care (printed pages 2, 6–10; checked October 26, 2026)↗
- Shop-Vac official FAQ (checked October 26, 2026)↗
COMMON QUESTIONS
Frequently asked questions
Should I remove the filter to see whether suction improves?+
Do not use filter removal as a generic test. The required arrangement depends on the exact vacuum and pickup mode. Inspect or maintain only as the manual permits, with power disconnected.
Does sudden suction loss after tipping always mean the float is stuck?+
No. A tip is useful history, not a complete diagnosis. Stop and follow the exact unit's float, liquid and service instructions; do not bypass parts or assume a universal reset time.
What if the vacuum still picks up poorly after normal maintenance?+
Stop repeated retries, preserve the model and check record, and contact the manufacturer or qualified service provider. This guide does not instruct electrical or motor repairs.

We check guidance against source material, equipment instructions, and our published editorial standards. Read the policy →